
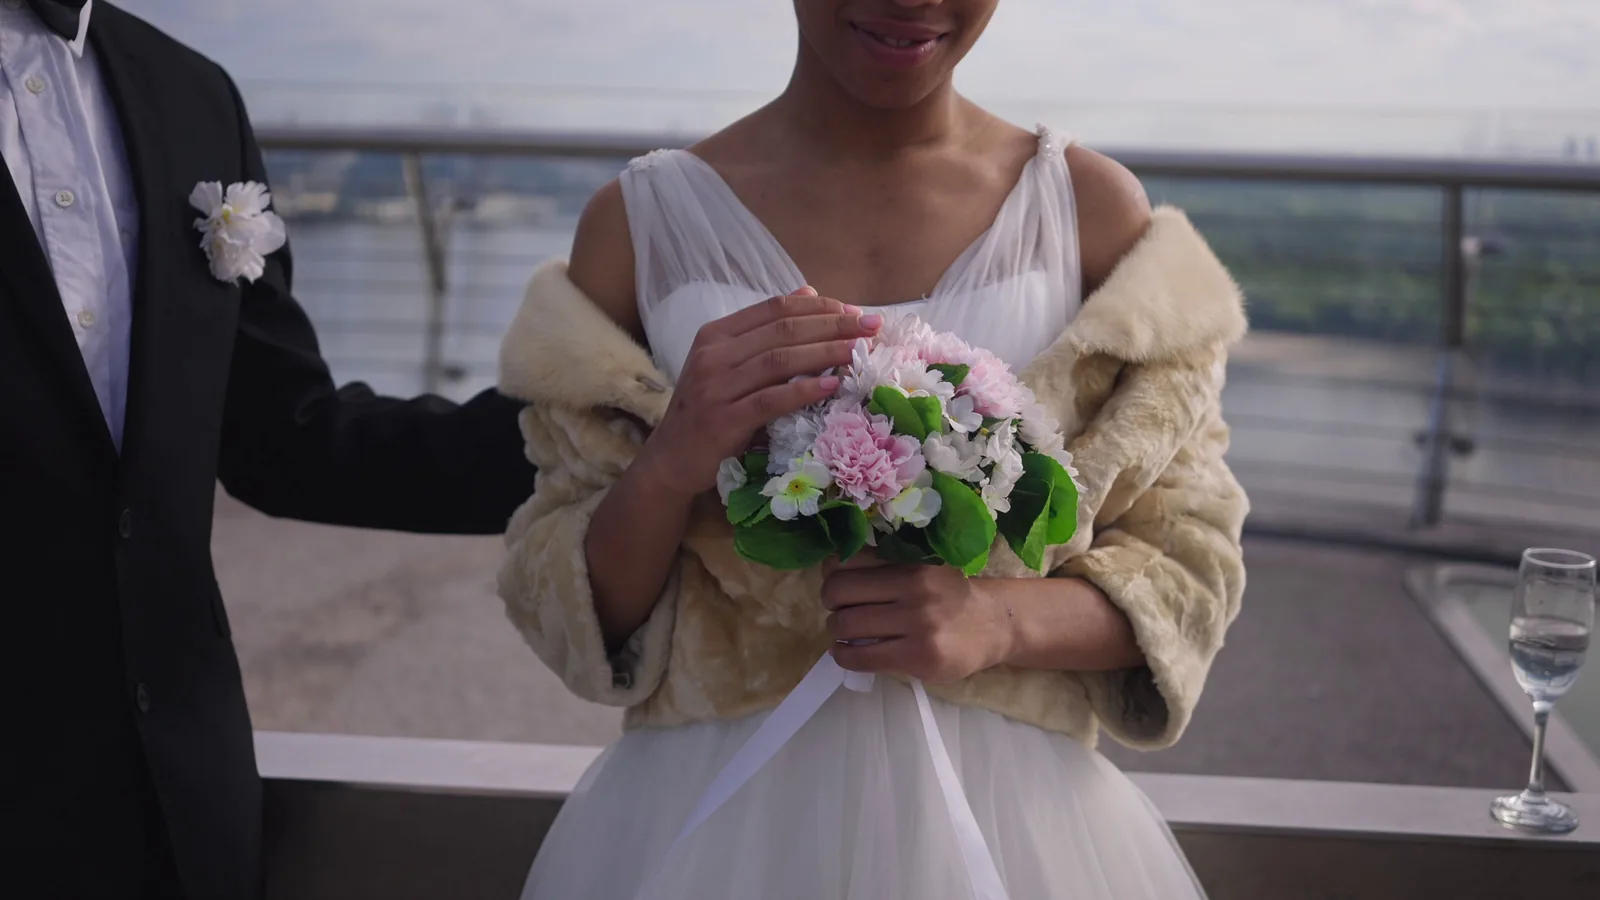
How To Preserve Wedding Bouquet
Preserving your wedding bouquet lets you keep a tangible memory of your special day for years to come. This guide provides clear, practical methods for drying and preserving your flowers, whether you choose air-drying, pressing, or silica gel. You'll learn how to prepare your bouquet, step-by-step instructions for each method, and how to troubleshoot common issues. With proper care, your bouquet can become a beautiful keepsake that evokes the joy of your wedding day every time you see it.
Fast Answer
- The quickest way to preserve your bouquet is to hang it upside down in a dark, dry, and well-ventilated area for two to four weeks until completely dry.
- For a faster method that retains color better, bury the flowers in silica gel crystals within an airtight container and check after three to seven days.
Before You Start
- Remove any rubber bands, ribbons, or floral wire from the bouquet stems, but leave the stems long for easier handling.
- Trim each stem at a 45-degree angle with sharp scissors or pruning shears, cutting off about one inch from the bottom.
- Remove any damaged, bruised, or browning petals and leaves, as they can rot and affect the rest of the bouquet during drying.
- Decide which preservation method you want to use—air-drying, pressing, or silica gel—and gather the necessary supplies: twine or string for hanging, a heavy book or flower press, or a shallow container and silica gel crystals.
Step-by-Step Instructions
Prepare the Bouquet for Preservation
Begin by gently removing any rubber bands, ribbons, or decorative wire that may be holding the bouquet together. Keep the stems intact as they will help you handle the bouquet during drying. Next, trim each stem at a 45-degree angle using sharp scissors or pruning shears, cutting off about one inch from the bottom. This fresh cut helps the stems absorb any last bit of moisture and makes them easier to work with. Remove any damaged, bruised, or browning petals and leaves, as they can rot and affect the rest of the bouquet during drying. Also, gently shake the bouquet to dislodge any loose petals or debris. As you work, handle the flowers as little as possible by holding the stems, not the heads. Check each bloom for signs of wilting or broken parts and carefully remove any that are beyond saving. This initial preparation ensures that only healthy flowers are preserved, which will result in a cleaner, more beautiful keepsake. Taking the time to prepare properly will prevent problems later, such as mold or discoloration, and will make the rest of the process much smoother.
Choose a Preservation Method and Gather Supplies
Decide which preservation method you prefer, as each yields a different look. Air-drying is the most traditional and requires no special supplies, but you'll need patience as it takes two to four weeks. Pressing produces flat flowers that are ideal for framing or making art, but it changes the shape of the blooms. Silica gel drying is the fastest and best at retaining color and shape, but it requires purchasing silica gel crystals and an airtight container. For air-drying, you'll need twine or string and a dark, dry, well-ventilated area. For pressing, gather a heavy book or a flower press and absorbent paper like parchment or blotting paper. For silica gel, get a shallow, airtight container (such as a plastic bin) and silica gel crystals in your chosen color (blue or white) and a soft brush for cleaning the flowers afterwards. Make sure you have all supplies before you begin to avoid interrupting the process. If you choose silica gel, ensure your container is large enough to hold your bouquet without crushing the flowers. Having everything ready in advance allows you to move smoothly through the next steps without stress.
Air-Dry Your Bouquet by Hanging
To air-dry, gather the prepared bouquet stems together and tie a piece of twine or string securely around the bundle, about one inch from the cut ends. Hang the bouquet upside down in a dark, dry, and well-ventilated area, such as a closet or an unused room. The darkness helps preserve the colors, and good airflow prevents mold from forming. Ensure the flowers do not touch each other or the wall, as this can cause spots and misshapen petals. Leave the bouquet untouched for two to four weeks, depending on the humidity and flower type. Check periodically for any signs of mold or shriveling. The flowers are dry when the petals feel crisp and papery, and the stems snap instead of bending. To test, gently press a petal; if it makes a crackling sound, it's dry. Once fully dry, carefully remove the twine and spray the bouquet with a clear acrylic sealant or hairspray to add a slight shine and help prevent brittle petals from falling off. Note that air-drying will cause some shrinkage, so the bouquet may look smaller than the original, but this is natural and part of its rustic charm. Hang it in a spot where it won't be disturbed during the drying period.
Press Flowers for Flat Keepsakes
Pressing is ideal for creating framed art, bookmarks, or other flat keepsakes from your bouquet. Individually press the flowers or small clusters, as the bouquet itself is too bulky. Begin by removing individual blooms from the stems, cutting them off with scissors. Arrange the flowers in a single layer on a piece of absorbent paper, such as parchment or blotting paper, making sure they don't overlap. Place another sheet of paper on top, then place this 'sandwich' between the pages of a heavy book or inside a flower press. If using a book, stack additional heavy books on top to add pressure. Leave the flowers to dry for two to four weeks. After a week, check for any wilting or browning and replace the paper if it feels damp. The flowers are ready when they are papery to the touch and completely flat. Carefully peel them off the paper and use tweezers for delicate petals. You can then arrange them in a shadow box frame or press them between glass panes for display. This method preserves the detailed structure of each flower but turns them flat, so it's not suitable for 3D arrangements. Enjoy the process of creating a unique, personal piece of art from your wedding flowers.
Dry Flowers Using Silica Gel for Lifelike Results
Silica gel drying is the most effective method for retaining the shape and color of your wedding bouquet, making it look almost fresh. To begin, pour a one-inch layer of silica gel crystals into a shallow, airtight container. Gently place a layer of flowers on top of the crystals, leaving space between them. Carefully pour more silica gel over the flowers, ensuring every petal is covered. Use a soft pastry brush or a spoon to gently coax the crystals between the petals without damaging them. Seal the container tightly and place it in a cool, dry place. Check the flowers after three days and again after a week by carefully brushing away a few crystals to see if they are dry. Most flowers are ready within three to seven days, but thick-petaled blooms like roses may take up to two weeks. The flowers are dry when they feel papery and hold their shape. Gently lift them out and brush off the remaining silica gel with a soft brush. These dried flowers can be arranged in a shadow box or vase. This method is the best for preserving a 3D arrangement, but it requires the silica gel crystals, which can be reused for future projects.
Display and Protect Your Dried Bouquet
Once your bouquet is fully dried, it's time to display it beautifully and protect it for the long term. For air-dried or silica-dried bouquets, place them in a clean, dry vase that is out of direct sunlight. Sunlight can cause colors to fade over time. Alternatively, you can display them under a glass dome or inside a shadow box, which protects them from dust and handling. To create a shadow box, arrange the bouquet on a background of your choice, glue it lightly in place, and close the frame. For pressed flowers, frame them between glass or in a shadow box as well. To add extra protection, apply a UV-resistant sealant spray designed for dried flowers, which helps prevent fading. Do not use water, moisture, or any wet cleaning method on dried flowers, as they are extremely fragile and will crumble. If dust accumulates, gently use a soft, dry brush or a hairdryer on a cool, low setting to blow it off. Avoid high-traffic areas where the bouquet could be accidentally knocked over. With proper care, your preserved bouquet can last for years as a lovely reminder of your wedding day. Take a moment to admire your handiwork.
Quick Reference
| Situation | Action | Why it helps |
|---|---|---|
| Your bouquet is large and full, with many different types of flowers. | Divide the bouquet into small bunches of 5-7 stems and air-dry them separately to ensure even drying and prevent mold. | Separating the stems allows air to circulate freely around each flower, reducing the risk of moisture trapping and mold, and helps each bloom dry uniformly. |
| You want to preserve the exact 3D shape of your bouquet for a keepsake. | Use silica gel crystals in a deep, airtight container, completely covering each flower to support its structure as it dries. | Silica gel dries flowers quickly while maintaining their shape, unlike air-drying which can cause drooping, and the crystals provide gentle support during the process. |
| You plan to frame a few flowers as wall art. | Press the flowers individually in a sturdy flower press or heavy book, using parchment paper, and leave them for at least two weeks. | Pressing flattens the flowers for a picture-perfect display, and the prolonged weight removes moisture to prevent browning, resulting in a durable and attractive frameable keepsake. |
Common Issues
- Flowers become brittle and crumble when touched after drying.: Handle dried flowers as little as possible, and if needed, lightly spray them with a clear acrylic sealant or hairspray to add a bit of flexibility. Store them in a low-humidity area and keep them out of direct sunlight to preserve their integrity.
- The bouquet develops mold during air-drying.: Carefully remove the affected flowers and discard them. Ensure the drying area is dark, dry, and well-ventilated. Increase airflow by using a fan at low speed and avoid overcrowding the bouquet. If mold returns, switch to silica gel drying.
- Colors fade significantly after preservation.: Minimize exposure to sunlight, as UV rays bleach petals. Store the dried bouquet in a dark place or under UV-protective glass. Applying a UV-resistant sealant can also slow fading. Some natural fading is normal, but these steps can help retain vibrancy for longer.
Advanced Tips
- For roses with thick petals, use a mixture of silica gel and fine sand in equal parts to provide extra support and prevent the petals from snapping.
- To retain the scent of your bouquet, add a few drops of a floral-scented essential oil to a cotton ball and place it in the sealed container with the flowers during drying (not directly on them).
- If you want to keep colorful flowers, add a pinch of salt to the water before you air-dry; this helps preserve the vibrant hues by reducing the activity of moisture during the drying process.
Final Checklist
- Remove all elastic bands, wires, and ribbons from the bouquet before starting.
- Choose a drying location that is dark, dry, and well-ventilated, and confirm it stays away from direct sunlight and heat sources.
- Check the flowers weekly for any signs of mold or excessive brittleness, and adjust the environment or method if needed.
- Once dry, display your bouquet in a shadow box under UV-protective glass or in a vase away from sunny windows, and avoid touching the delicate petals.
FAQ
How long does it take to air-dry a wedding bouquet?
Air-drying typically takes 2 to 4 weeks, depending on the humidity and the types of flowers. You can test dryness by feeling if the petals are crisp and papery. If they feel squishy or limp, they need more time.
Can I preserve my bouquet if it's already wilting?
Yes, but it's best to start preservation as soon as possible. Trim the stems and place the bouquet in water for a few hours to revive the flowers, then proceed with your chosen preservation method. If some flowers are too far gone, remove them and preserve only the healthy parts.
How do I keep the petals from falling off after drying?
To minimize falling petals, handle the dried bouquet gently and avoid touching the flowers. You can also spray the bouquet with a clear acrylic sealant or hairspray once dry, which adds a protective layer. Keeping it in a shadow box also prevents accidental damage.
