
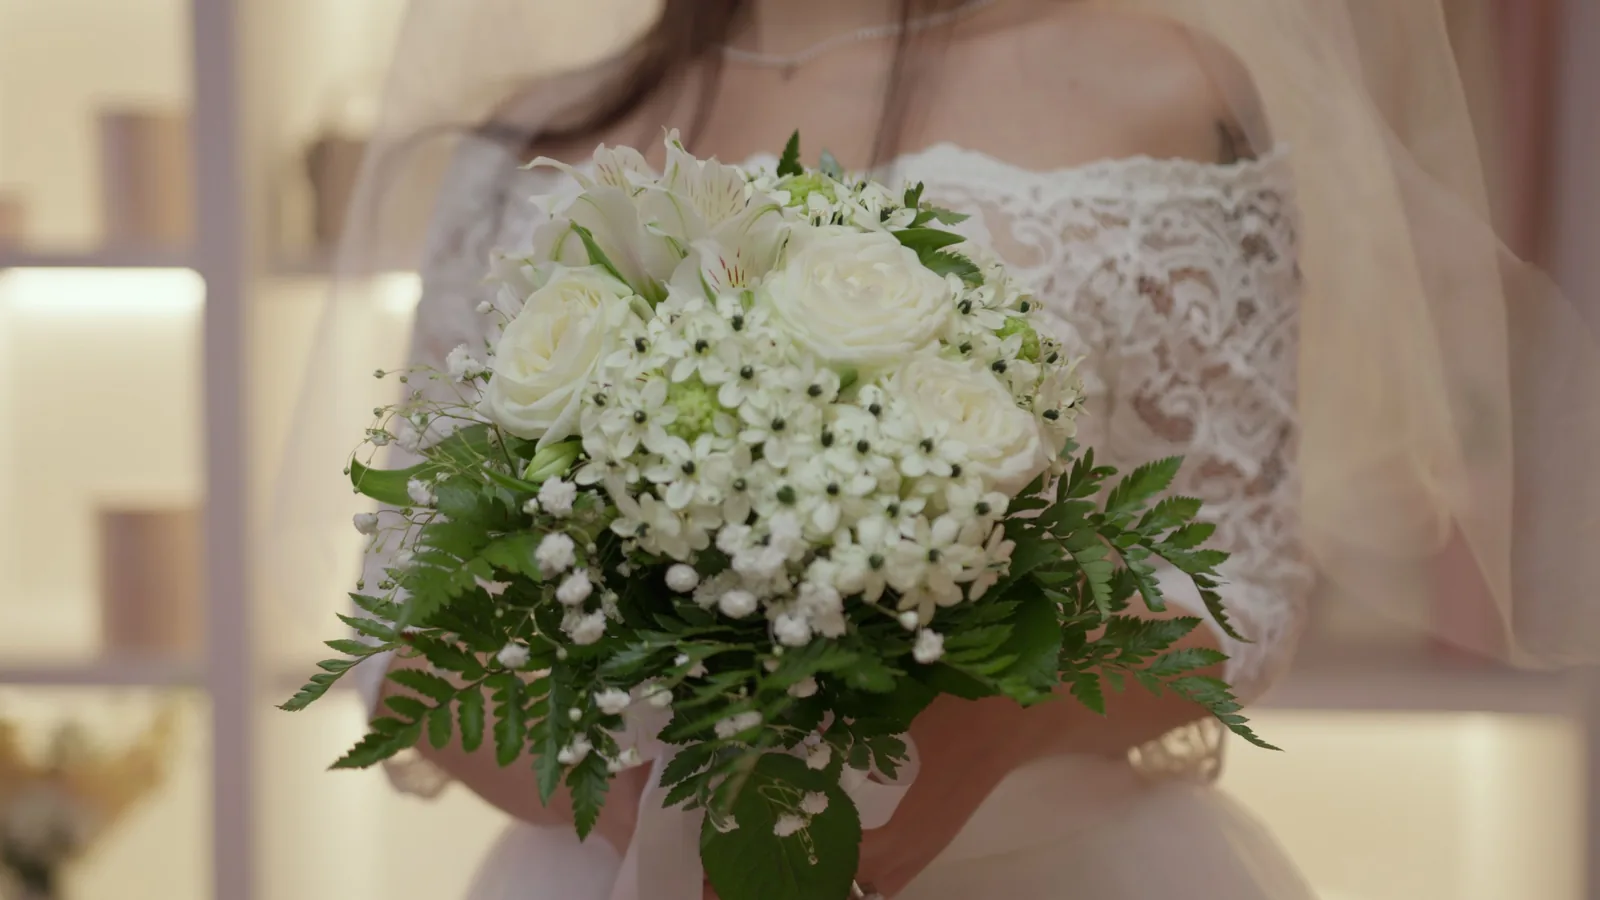
How To Prepare A Bridal Bouquet
Preparing a bridal bouquet is a heartfelt task that combines flower selection, conditioning, arrangement, and wrapping to create a personal accessory for the wedding day. This guide provides a complete, step-by-step process from choosing blooms that match the wedding theme to keeping the bouquet fresh and beautiful for the ceremony and photographs. You will learn how to condition flowers properly, build a balanced hand-tied design, secure the stems, and add finishing touches like ribbon and filler greens. The guide also covers common problems such as wilting or drooping stems, offers advanced tips for texture and fragrance, and includes a checklist to ensure you have everything ready. Whether you are a DIY bride or a helper, this practical advice will help you craft a bouquet that feels both professional and meaningful.
Fast Answer
- Gather flowers, greens, floral tape, ribbon, and sharp scissors or a knife. Condition the flowers by stripping lower leaves and cutting stems at an angle, then place them in water for at least four hours to hydrate.
- Build the bouquet by holding stems in a spiral, adding flowers and greens in a balanced pattern. Wrap the stems with floral tape, then cover with ribbon and secure with pins or a gentle knot. Keep the bouquet in water until just before the ceremony.
Before You Start
- Choose flowers that suit the wedding's color palette and season. Consider the weight of the bouquet in your hand and the fragrance, as some blooms are heavy or strong-smelling.
- Gather supplies: sharp floral shears or a knife, floral tape, ribbon, pearl pins or straight pins, and a bucket of clean, room-temperature water. Also have a clean, flat workspace with paper towels.
- Condition the flowers: remove any foliage that will sit below the water line, cut each stem at a 45-degree angle under running water, and place them in the bucket. Let them drink for at least four hours or overnight.
- Prepare filler greens by trimming them to about the same length as the flower stems, and remove any bruised or yellowing leaves. Keep them in water until you are ready to arrange.
Step-by-Step Instructions
Hydrate and Condition Your Flowers Thoroughly
Start by filling a clean bucket with lukewarm water and adding a commercial flower food if available. Unwrap the flowers and remove any rubber bands or plastic sleeves. Using sharp scissors or a knife, cut each stem at a 45-degree angle while holding it under running water to prevent air bubbles from blocking water uptake. Strip off any leaves that would fall below the water line, as submerged leaves rot and harbor bacteria. Place the stems immediately into the bucket. Allow the flowers to drink for at least four hours, or ideally overnight, in a cool, dark room. This step is critical because it rehydrates the stems, plumps the petals, and ensures the flowers will last through the ceremony. Check the water level periodically and add more if needed.
Choose a Focal Flower and Build a Color Palette
Decide which bloom will be the star of your bouquet—for example, a garden rose, a peony, or a dahlia. This focal flower should be bold and slightly larger than the others. Then select two or three complementary flowers for texture and volume, such as spray roses, ranunculus, or sweet peas. Consider the color scheme of the wedding dress and the bridesmaids' gowns. When you choose, also think about the weight: heavy blooms like hydrangeas can make the bouquet tired to hold. Aim for a mix of round shapes and spiky or trailing elements, like veronica or amaranthus, to add interest. Write down the list of flowers you need and purchase about one and a half times the number you think you'll use, to allow for breakage or imperfections. Keeping the palette simple, like all white with a green accent, often looks more elegant than many different colors.
Prepare the Stems by Cutting and Zipping Leaves
Before you start assembling, take each stem and remove any leaves that will be in the handle area (about five inches from the bottom). Use a sharp knife or scissors to cut the stem at an angle, about one inch from the bottom, and then immediately place the stem in water. This fresh cut opens the xylem, allowing the flower to sip water. For woody stems like roses or hydrangeas, you can also use a quick pinch or a sharp knife to score the stem a bit more. For delicate flowers like tulips, wrap the stem in paper for the first hour so they don't flop. Keep all prepared stems in a bucket until you are ready to arrange. Also, ensure the scissors you use are clean and sharp; dull blades crush the stem and reduce water uptake. After cutting, handle the flowers gently, as the petals bruise easily.
Assemble the Bouquet in a Spiral Pattern
Hold the prepared stems in your non-dominant hand, with your thumb and fingers forming a comfortable circle. Begin with the largest focal flower in the center, then add stems one at a time, turning the bouquet slightly with each addition so that the stems cross in a spiral. Keep the top of the bouquet tight as you build, allowing the blooms to fan out naturally. Add filler greens and smaller flowers in between to fill gaps. Use the 'rotating' technique: each new stem is added at a slight angle, with the heads resting below the previous round. Continue until the bouquet is the desired size—usually about 12 to 16 inches in diameter. As you build, periodically check the size by turning the bouquet upright and looking at a mirror. Do not grip too tightly, as this crushes the stems.
Tighten and Wrap the Stems Firmly
Once all flowers are in place, you'll need to secure the stems. Use a rubber band or floral tape to wrap the stems tightly about two inches below the heads. Pull the tape snugly and wrap it a couple of times, making sure the bouquet holds its shape. Then, trim the ends of the stems to an even length, about seven inches from the wrapping. Use shears that are strong enough to cut through all stems at once. If you want a more finished look, wrap floral tape from the rubber band down to the very ends, covering the exposed stems. This extra step also prevents thorns from catching on the dress. Finally, stand the bouquet in a vase of water and store it in a cool place until you are ready to add the final ribbon handle.
Add Ribbon, Pins, and a Finishing Touch
Choose a ribbon that complements the bouquet, such as a satin or silk ribbon about two inches wide. Cut a length of about 24 inches. Begin at the top of the taped handle and wrap the ribbon down and back up in a crisscross pattern, covering all the tape. When you reach a comfortable handle area, tie a neat bow or knot. Use pearl-headed straight pins to secure the ribbon at the top and bottom, pushing them into the stems. Trim the ribbon ends at an angle to prevent fraying. Optionally, spray the bouquet lightly with a floral finishing spray to add a subtle shine and hold petals in place. Finally, mist the flowers with water and store the bouquet in a cool or refrigerated place until the ceremony. Avoid letting the ribbon get wet, as it may stain.
Quick Reference
| Situation | Action | Why it helps |
|---|---|---|
| You need to keep the bouquet fresh during a long photo session after the ceremony. | Take a small spray bottle filled with water and mist the blooms lightly between shots, and wrap a damp cotton cloth around the stem ends inside a plastic bag. | Misting adds humidity, and the damp cloth provides hydration to the stems, preventing wilting. |
| A flower breaks or wilts right before the wedding. | Have a spare prepared flower in a separate vase, and carry a small roll of floral tape and scissors in your emergency kit to replace the damaged stem. | Quick replacement keeps the bouquet full and beautiful without having to redo the whole arrangement. |
| The bouquet feels too heavy to hold comfortably during the ceremony. | Reduce the number of filler greens and use more lightweight flowers like baby's breath, or trim the stems shorter to reduce the lever arm. | Lighter weight and shorter stems reduce the strain on your wrist and make the bouquet easier to carry. |
Common Issues
- Flowers droop shortly after arranging.: Recut the stems at a sharp angle and place them in warm water (not hot) for an hour. Also, check that leaves are not submerged, and add flower preservative to the water.
- Petals or leaves look bruised or damaged.: Gently remove any bruised petals with your fingers or scissors, and trim brown leaf edges. If the flower is badly damaged, substitute a spare bloom from your backup stash.
- The bouquet slides apart when you pick it up.: Rewrap the stems with a thicker layer of floral tape, or use a rubber band placed tighter. Alternatively, use a commercial stem wrap like a floral adhesive tape that grips better.
Advanced Tips
- Mix fresh flowers with dried or preserved elements like gypsophila or statice for texture and longevity.
- To add a unique fragrance, tuck a small sprig of fragrant herbs like rosemary or lavender into the center of the bouquet, where it won't overpower the flowers.
- Consider the bouquet's silhouette from the side: trailing vines like jasmine or ivy can soften the look and add elegance.
Final Checklist
- Have all flowers conditioned and hydrated at least four hours before assembling.
- Keep a bucket of water with the bouquet and a spray bottle to mist flowers up to the ceremony.
- Pack a kit with scissors, extra floral tape, pins, and an extra flower or two for last-minute fixes.
- Store the finished bouquet in a cool, shaded place (above 40°F) until the ceremony and avoid direct sunlight.
FAQ
How far in advance can I make the bridal bouquet?
It's best to assemble the bouquet no earlier than the morning of the wedding, as flowers naturally wilt after being cut. If you must prepare it a day ahead, use hardy flowers like roses and keep the bouquet in a cool location with water in the vase. Mist the blooms regularly and expect to refresh the arrangement slightly on the day.
What is the best way to keep the bouquet fresh after handling it?
Keep the bouquet in a vase of clean water in a cool room away from direct sunlight, heat, and fruit bowls (ripening fruit releases ethylene that shortens flower life). Recut the stems slightly and change the water if you have more than a few hours. Just before the ceremony, gently pat the stems dry and wrap with a damp paper towel and foil for transportation.
Can I use artificial flowers for a bridal bouquet?
Yes, artificial flowers like silk or high-quality foam are a lasting option, but they require different handling. You can still follow the same spiral technique, but you don't need to keep them in water. Seal the stems with a hot glue gun or tape and feel free to assemble weeks in advance. Pricier realistic silk flowers offer more natural look and can be kept as memorabilia.
