
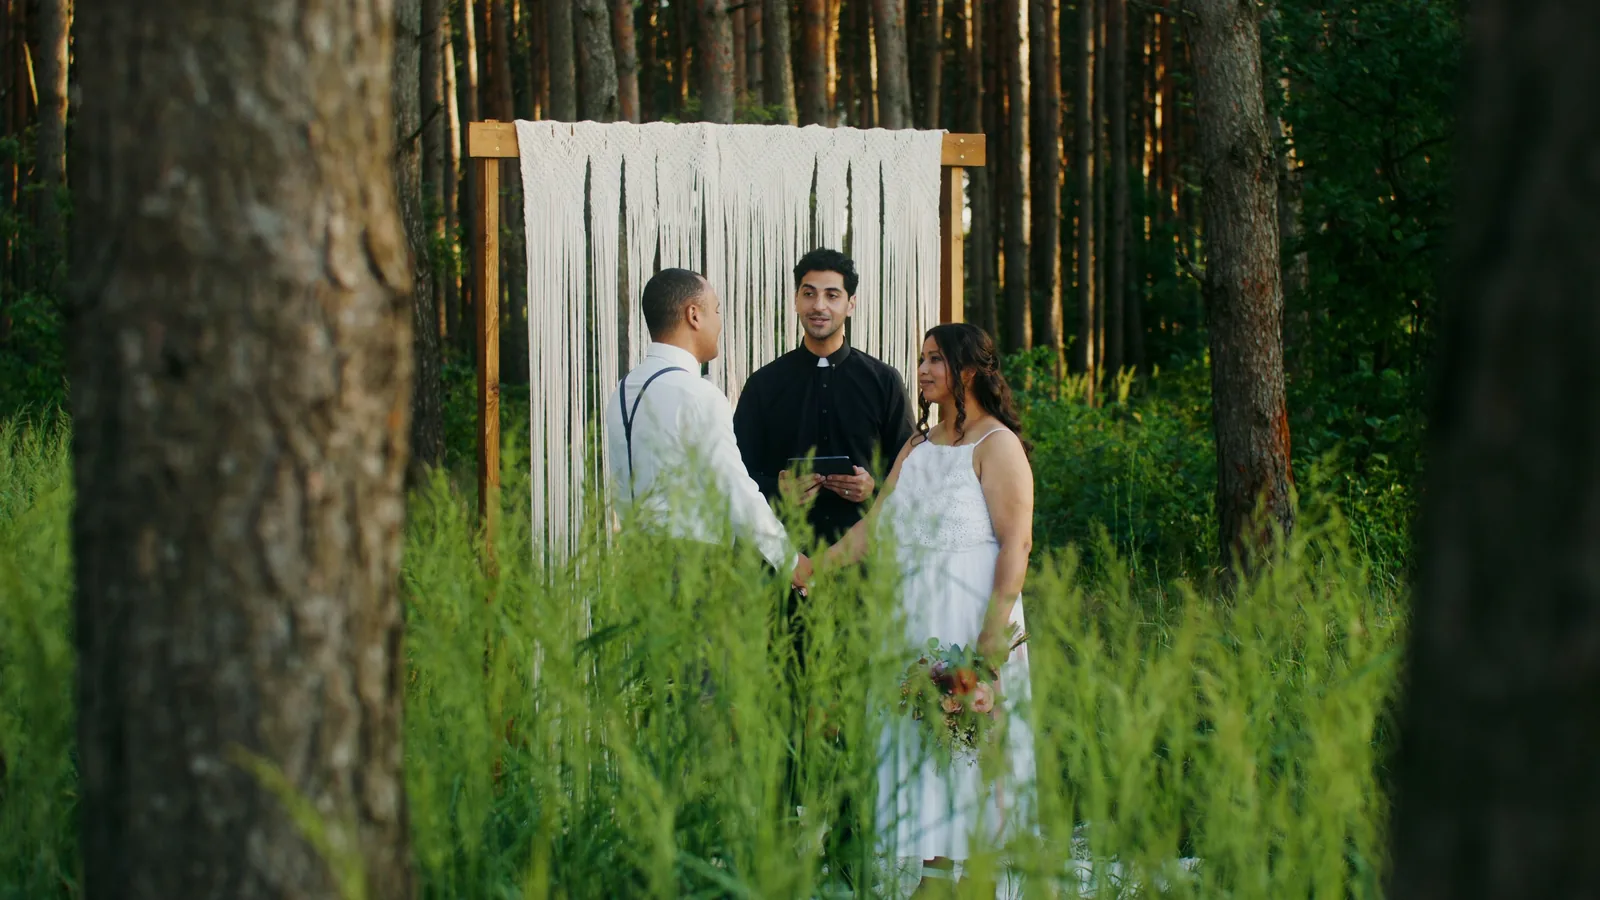
How To Plan A Wedding Weekend Itinerary
Planning a wedding weekend itinerary involves coordinating multiple events, guests, and logistics over several days. This guide provides a clear framework to create a balanced schedule that reduces stress and ensures a memorable experience. It covers defining the vision, prioritizing core events, building a master timeline, assigning responsibilities, communicating details, and staying flexible. By following these steps, you can craft a seamless itinerary that respects guests' time and highlights the couple's style.
Fast Answer
- Start by deciding the weekend's overall tone and must-have events, then sketch a rough schedule that balances structured moments with free time.
- Create a master timeline spreadsheet that includes setup times, venue contact details, and buffer periods, then share it with your wedding party and key vendors.
Before You Start
- Create a shared document or folder with your partner to collect ideas and notes about the weekend's priorities, such as welcome dinner, ceremony, brunch, and local activities.
- Contact each venue to confirm their availability for the specific dates and times you are considering, including load-in and load-out windows for vendors.
- List out-of-town guests and their estimated arrival and departure times, then identify how many need transportation or orientation help.
- Set a budget for each event, including food, decor, rentals, and staffing, and leave at least 10 percent of that budget for unplanned extras.
Step-by-Step Instructions
Define Your Weekend's Core Vision
Begin by sitting down with your partner and listing what matters most for your wedding weekend. Are you dreaming of a relaxed beach gathering, a formal black-tie affair, or an outdoor adventure with hiking and camping? Write down three to five must-have experiences, such as a welcome bonfire, a quiet ceremony, a lively reception, and a farewell brunch. Then identify any guests who have special needs, such as older relatives who cannot walk far or friends with food allergies. Circle what you absolutely want to keep, and cross out anything that feels like an obligation rather than a joy. This vision will guide every decision you make later, from venue selection to the final minute-by-minute schedule. Keep a copy in your phone or notebook as a reference. When you feel tempted to add one more event, ask yourself if it aligns with this vision. Doing this early makes the rest of the planning clearer.
Assign Roles and Responsibilities
You cannot orchestrate a multi-day itinerary alone, so decide who will help with what. Choose two or three trusted people, such as your partner, a sibling, or a close friend, and give each person a specific area of responsibility. For example, one person can manage the welcome bag distribution, another can coordinate vendor arrivals, and a third can serve as the point person for guests with questions. Write down each role and the tasks involved, then set up a shared spreadsheet or checklist that everyone can access. Schedule a short meeting a week before the wedding to go over the timeline and answer any questions. Make sure each assistant knows exactly how to reach you on the day of each event, and have a backup plan if someone cannot fulfill their role. Clear roles prevent confusion and ensure that you can enjoy the weekend instead of handling every small issue.
Build the Master Timeline
Now take your vision and turn it into a written schedule. Start with the ceremony time, which usually anchors the weekend, and work backward to plan the welcome event and rehearsal. Then work forward to plan the reception, after-party, and farewell brunch. For each event, write down the start time, end time, location, and any setup or breakdown times needed by vendors. Include buffer periods between events, especially if venues are more than twenty minutes apart. For example, if the ceremony ends at 4:00 PM, schedule the reception to start at 6:00 PM to allow for travel and photos. Use a spreadsheet or a printed table to list the full weekend, from Friday afternoon to Sunday morning. Mark each timeslot with the activity, the exact address, and the name of the lead coordinator. Then review the timeline with your vendors to ensure they can meet the times, and ask about any hidden delays like setup or teardown.
Communicate Clearly with Guests
Once your master timeline is ready, share it with all guests in a way that matches their needs. Create a one-page printable version that fits nicely in a welcome kit, using large fonts and simple icons. On this page, list each event with the date, start time, end time, and address, and include a short note about dress code or what to bring. Also post the same information on your wedding website, if you have one, and update it with any changes. Send a brief email or text to all guests two days before the event, reminding them of the schedule and highlighting any changes. For older relatives who may not use digital tools, ask a friend to call them personally. On the day of the wedding, have a few printed schedules at the welcome table and at the front desk of the hotel. Also, designate a person to send quick updates, like a delay in the shuttle, through a group chat that you monitor.
Plan Contingency Time and Activities
No matter how well you plan, something may shift, so build flexibility into the itinerary. Add at least two buffer blocks of 45 to 90 minutes each day, especially before the ceremony and after breakfast. During these blocks, guests can rest, take a walk, or use the hotel pool. Prepare a list of nearby attractions, such as a hiking trail, a cozy café, or a park, in case the weather cancels an outdoor activity. Always have a backup location for any event that takes place outside, and know the closest indoor space. If a vendor runs late, you can shift the schedule more easily when there is free time. Also, assign someone to be the go-to person for last-minute logistics, like calling a taxi or picking up extra water. By planning for surprises, you protect the emotional tone of the weekend and reduce stress for you and your guests.
Review and Adjust the Final Itinerary
Take a final pass through your entire itinerary two or three days before guests arrive. Read each line aloud and imagine moving from one event to the next. Confirm that all addresses are correct, including the exact building entrance and parking area. Check that you have listed a clear pick-up time for any shuttles, and contact the drivers to verify. Also review the guest count for every meal, and tell the venue if there are any changes. Send the final version to your coordinator, your partner, and your key helpers, and ask them to flag any conflicts. Make a final copy for yourself that is easy to carry, like a folded card that fits in a pocket. Trust your plan but stay open to small adjustments on the day. When you have reviewed everything, let go of perfection and focus on enjoying the time with the people you love.
Quick Reference
| Situation | Action | Why it helps |
|---|---|---|
| Guest misses the shuttle for the welcome dinner | Have a backup driver on call and send the guest the dinner address with a note to take a taxi or rideshare. | Keeping a spare driver ensures the guest can join safely without causing a long delay. |
| Rain is forecast during your outdoor ceremony | Confirm the indoor backup location with the venue manager and have signs directing guests to move there. | A clear plan for weather avoids confusion and keeps guests dry and calm. |
| Vendor arrives late for reception setup | Ask your coordinator to call the vendor and shift setup tasks to available staff, then delay the start time by 15 minutes and inform guests. | Quick action minimizes disruption and lets your day proceed with minimal stress. |
Common Issues
- Overlapping events that force guests to choose between activities: Review your timeline and move nonessential events to different times or days, or drop one activity to keep the schedule clear.
- Guests arrive hungry or tired because there were no breaks for meals or rest: Add scheduled meal times and at least two rest intervals each day, and provide light snacks and water during all events.
- Communications get missed because the schedule changed at the last minute: Designate one person to send updates through a group text or via the wedding website, and also post a printed note at the venue entrance.
Advanced Tips
- Arrange for a photo gap between the ceremony and reception so you and your partner can step away to take pictures while guests enjoy cocktails and appetizers.
- Create a welcome kit that includes a local map, a small snack, and a printed itinerary so guests feel oriented from the start.
- Build in a 'quiet hour' each afternoon for napping or exploring on your own, which prevents burnout and lets you enjoy the evening fully.
Final Checklist
- Confirm all vendor arrivals and setup times, including caterers, photographers, and musicians.
- Send the final itinerary to every guest and key helper at least 48 hours before the weekend begins.
- Pack a physical copy of the schedule, a list of emergency contacts, and any necessary permits or venue paperwork.
- Review the weather forecast each morning and have a plan for rain or heat, including backup indoor locations.
FAQ
How do I keep guests informed if the weekend schedule changes?
Designate one trusted person to be the go-to communicator. That person can send a quick text through a group chat, update your wedding website, and post a printed note at the main venue entrance. It is also helpful to have a small card with the updated times that you can slip under hotel room doors, if needed. Provide the same information through multiple channels, because guests have different preferences.
What are the most important buffer times to include?
The most critical buffers are before the ceremony, between the ceremony and reception, and during the morning of the final day. Allow at least 45 minutes of empty time before any event that requires everyone to be seated, and schedule a 90-minute lunch break on days with multiple activities. Also, add a 30-minute buffer between any event that involves a venue change. These extra minutes absorb delays and give guests a chance to relax.
How can we make the weekend feel personal without overcomplicating it?
Pick two or three personal touches that reflect your story, such as a favorite meal for the welcome dinner, a small game from your first date, or a playlist that shares your history. Then integrate these into the schedule naturally without adding extra events. For example, include a short 'couple trivia' game during the welcome hour, or set up a photo booth with prompts from your relationship. Keep the rest simple so the meaningful details stand out.
