
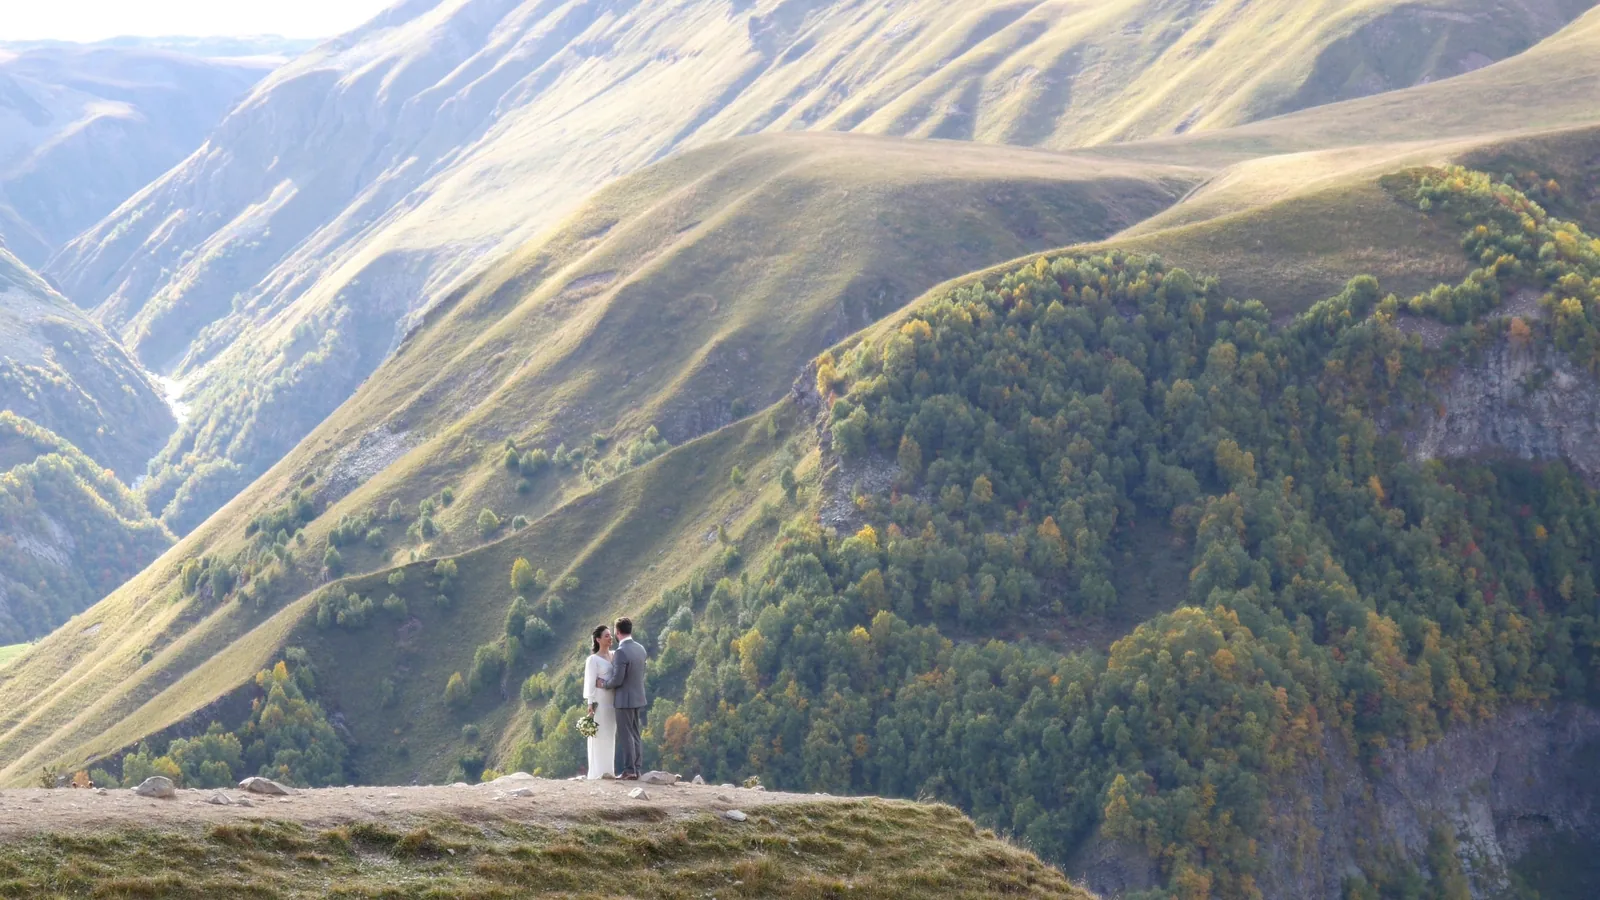
How To Plan A Wedding Timeline
Creating a wedding timeline is one of the most important organizational steps in planning your big day. A clear, realistic schedule keeps you, your partner, your vendors, and your guests on the same page, reducing stress and ensuring that every moment unfolds smoothly. This guide will walk you through building a practical timeline from the final month down to the reception, covering how to prioritize, coordinate with vendors, and build in buffers for the unexpected. You'll learn how to allocate time for each major segment, communicate the schedule effectively, and handle common hiccups. With a thoughtful timeline, you can relax and enjoy your wedding, knowing that every detail has its moment.
Fast Answer
- Start by listing every event you want to include, from getting ready to the last dance, and assign realistic time blocks to each, working backward from the ceremony time.
- Share a master timeline with all key vendors (photographer, caterer, venue coordinator) at least one week before the wedding, and confirm that each vendor's arrival and setup times align with your schedule.
Before You Start
- Choose the wedding date and start time for the ceremony, then create a rough outline of major segments (getting ready, ceremony, photos, cocktails, reception).
- Contact your venue coordinator and key vendors (photographer, caterer, DJ/band) to confirm their standard time requirements for setup, service, and coverage.
- Decide on the length of your ceremony (religious, secular, etc.) and the number of guests to estimate how long portraits and the grand entrance will take.
- Gather all vendor contracts and highlight any time-based clauses, such as overtime fees or minimum hours, to avoid scheduling conflicts.
Step-by-Step Instructions
Determine Your Priorities and Non-Negotiables
Start by listing everything you absolutely want at your wedding, from the ceremony style to the type of reception. Each wedding has unique elements—some couples prioritize a long cocktail hour for socializing, others want a relaxed getting-ready session for photos, and some insist on a sunset ceremony. Write down your top three must-haves and keep them in mind as you build the timeline. Then, talk with your partner and your families to ensure you don't miss important traditions. Once you have that list, think about the natural flow of the day: getting ready, first look (if any), ceremony, family portraits, cocktail hour, reception, and farewell. For each of these blocks, estimate a realistic duration based on the number of people involved and the complexity of tasks. For example, a first look and couple portraits may take 45 minutes, while a full family portrait session with dozens of relatives can take over an hour. This step is crucial because it sets the foundation for everything else. When you assign times, always build in a 10-minute buffer between each major block. That way, you're not rushing from one thing to the next, and you have breathing room for small delays.
Decide on Your Getting-Ready Schedule
Your getting-ready time is the first major block, and it often takes longer than you think. Start by asking your hair and makeup artists how long they need per person, and multiply that by the number of people they'll be styling. For bridal parties, a common approach is to schedule overlapping appointments: the hairstylist starts with the bridesmaids while the makeup artist works on the bride, then they switch. But always ask your vendors for their exact timing. Once you have that, plan the getting-ready sequence backward from when you need to be dressed and ready for the ceremony. For example, if your ceremony is at 4 PM, and you need to travel 15 minutes to the venue, you should aim to be fully dressed by 3 PM. That means hair and makeup should be finished by 2:30 PM, and you'll start the whole process at around 11 AM. Add 15 minutes for lunch and 10 minutes for touch-ups. Also, remember to schedule time for wedding party photos before you leave the getting-ready location, which usually takes 20–30 minutes if you want pre-ceremony shots. Communicate this timeline to your hair and makeup team and your photographer, so they know when to arrive. A common mistake is underestimating how much time it takes to put on a complicated dress, adjust veils, or add the final touches, so include a 20-minute buffer for those last-minute details.
Plan the Ceremony Sequence and Duration
The ceremony is the heart of your wedding, and its length and structure will dictate the flow of the entire day. Work with your officiant to outline the sequence of elements: processional, welcome, readings, vows, ring exchange, pronouncement, and recessional. Ask your officiant for a typical run time, and factor in time for the processional—depending on the number of wedding party members and the distance they walk, it can take 5 to 10 minutes alone. If you have musicians, confirm the exact pieces and their durations. Add a 5-minute buffer for unexpected pauses (like a guest needing to find a seat). Once you have the total, set a strict start time and decide when guests should be seated (usually 15 minutes before the ceremony starts). Also, plan for the processional to begin exactly at that time, and instruct your coordinator to seat any latecomers after the processional is complete. Remember that your ceremony time is fixed, so if you want a photo of the full wedding party, it's better to do it before the ceremony or after the recessional, not during a tight window. Finally, consider the transition time from the ceremony space to the next location—whether it's a cocktail hour onsite or a travel to another venue. Always factor in at least 15 minutes for guests to move, and for you to take additional photos.
Schedule Photos with Time Buffers
After the ceremony, photos are often the biggest time consumer, and without careful planning, they can eat into your cocktail hour and reception. Start by making a list of all the photo groupings you need: couple portraits, bridal party, immediate family, extended family, and any special friends. Assign realistic time blocks: couple portraits usually take 30–45 minutes, bridal party shots 20–30 minutes, family portraits 15–20 minutes per grouping. A good rule of thumb is to allocate 10–15 minutes per family group, and to do as many photos as possible before the ceremony, especially if you're doing a first look. For after-ceremony, schedule a 60–90 minute block for all remaining portraits, depending on the number of groups. Always communicate this list to your photographer in advance, and assign a point person (like a bridesmaid) to gather the people needed for each photo. Also, remember that the cocktail hour is for your guests, not for you—you should aim to join at least half of it. To do that, make sure your photo block ends before the last 45 minutes of the cocktail hour. Plan to take a mix of posed and candid shots, but keep a strict eye on time. If you have an unusual venue with long walking distances between photo spots, add extra time for travel.
Design a Reception Timeline That Keeps Energy Up
Your reception should flow smoothly from the grand entrance to the final dance, with key moments spaced out to keep guests engaged. Begin by listing the classic reception events: grand entrance, welcome toasts, first dance, parent dances, dinner service, toasts/speeches, cake cutting, bouquet toss, and general dancing. Estimate time for each, but remember that dinner alone can take 1.5 hours for a plated meal, or 45–60 minutes for a buffet. Plan the order to maximize momentum: start with a grand entrance and first dance, then serve dinner, then do toasts, and then dancing. If you want to include a special dance like a father-daughter dance, do it right after the first dance, so you stay on the dance floor. Use a 'signature' moment to transition between dinner and dancing—like a sparkler send-off or a sorbet course. Be realistic about how long speeches will take: five toasts of two minutes each equals ten minutes, but add 10 minutes for transitions and applause. For entertainment, coordinate with your DJ or band to have musical cues for each moment, and give them a timeline of when to announce each event. Also, plan for a 20-minute 'open dance' block after every formal event, so guests feel there's always time to dance.
Build Buffer, Share, and Adapt on the Day
Once you have all the blocks, review the entire timeline from the beginning. Add a buffer of at least 15 minutes between each major segment (like after the ceremony before photos, and after dinner before dancing). This cushion is your safety net for unexpected delays, restroom breaks, or simply catching your breath. Then, write a clean final version, including start and end times, and list who is responsible for each part (e.g., '4:00–4:15 processional—coordinator will cue'). Share this timeline with every vendor, your wedding party, and your families at least one week before the wedding. Ask each vendor to confirm that their arrival and performance times match. On the day, appoint a 'timeline keeper'—someone who isn't in the wedding party—to follow the schedule and gently nudge people when needed. Be prepared to adapt: if you're running late, simplify a photo list or skip a speech. The goal is not to achieve perfection but to enjoy the day. So, build in a 10-minute 'breath' at every hour, and stay flexible. Finally, have a printed copy of the timeline on you, and give one to the coordinator or a trusted friend. Review the timeline the night before, but once the wedding starts, trust your team and enjoy every moment.
Quick Reference
| Situation | Action | Why it helps |
|---|---|---|
| You are deciding whether to do a first look. | If you want a first look, schedule it at least 1.5 hours before the ceremony, and tell your photographer and partner. Ensure all couple portraits are done then, so you can attend cocktail hour sooner. | A first look gives you private time with your partner and reduces the stress of photographs, but it requires careful scheduling to avoid eating into other segments. |
| Your venue coordinator says the room needs 30 minutes to flip between ceremony and reception. | Ask the coordinator exactly when the flip begins and ends, then schedule your photo session during that same 30-minute window. That way, guests can go to a cocktail area, and you don't waste time. | This strategy uses the unavoidable delay as a photo opportunity, making the cutover efficient and avoiding a gap where guests are bored. |
| A family member insists on having a long speech after dinner. | Before the wedding, set a strict time limit for speeches (e.g., 3 minutes each) and communicate it to all speakers. On the day, place the wedding coordinator or best man nearby to signal when time is up. | One long speech can throw off the entire evening, but a pre-set guideline keeps the schedule on track without hurting anyone's feelings. |
Common Issues
- Guests linger too long at the cocktail hour, causing the toast to be late.: Have the DJ or band announce the arrival of the wedding party 10 minutes before you enter, and arrange for servers to direct guests toward the reception area during that time.
- The photographer misses key moments because they weren't told about the schedule.: Give the photographer a detailed timeline with each event's exact time, and confirm that they know when each major moment (like the first dance) will occur, at least a week ahead.
- Hair and makeup runs over by 30 minutes.: Plan your getting-ready time with an extra 30-minute buffer built in from the start, and ask your hair and makeup team to confirm they'll be done by the latest possible time, then have a 'catching up' plan like simplifying the hair style.
Advanced Tips
- If you have multiple venues (ceremony, cocktail, reception), schedule a dedicated 'travel time' slot between them—not just the minutes it takes to drive, but also 10 minutes for parking and settling everyone.
- Consider building a 'sunset moment' into your timeline, whether it's a 5-minute break for guests to watch the sunset outside or a planned photo of the couple during golden hour, weather permitting.
- Use a color-coded timeline for different groups: for example, highlight vendor arrival times in one color, family member duties in another, and couple-only moments in a third, so everyone can quickly see their own responsibilities.
Final Checklist
- Confirm the ceremony start time with the officiant and venue, and have guests seated 15 minutes prior.
- Share the final timeline with all vendors, your coordinator, and the wedding party, and request written confirmation from each.
- Print 4-5 copies of the timeline and give them to the coordinator, photographer, DJ, and a trusted friend.
- Add a 20-minute buffer to your getting-ready and photo blocks, and decide in advance which tasks can be cut if you run short.
FAQ
How far in advance should I create my wedding timeline?
You should start a rough timeline at least 3 months before the wedding, once you have your venue and key vendors booked. At that point, you can confirm their setup and service timelines. A detailed version should be finalized 1 month out, and you should share it with all vendors at least 1 week before the event. This gives you time to adjust for any vendor constraints.
What should I do if the wedding is running late on the day?
First, don't panic. Speak with your coordinator or a trusted friend who has the timeline. Decide which non-essential items can be trimmed—like shortening the cocktail hour by 15 minutes or cutting a few family portrait groupings. Communicate any changes to the photographer and DJ. Also, remember that guests don't know your exact schedule, so a minor delay is often unnoticed.
How can I make sure all my vendors are on the same page?
Send a single, clear timeline document by email to all vendors, and ask each one to reply with a confirmation that they've reviewed it and will follow it. Attach a separate document listing their specific arrival times and any special instructions. If possible, host a brief phone call with the coordinator, photographer, and venue manager to walk through the timeline together and address any conflicting needs.
